One thing I discovered is that I don't really know how to make a stencil. I mean, it seems pretty straightforward - just cut out wherever you want to slip to go - but there are some mental twists in there. The shape you want is the negative space of the stencil, which is the positive space of the drawing on the stencil; and because the image is a cut-out, and enclosed negative space has to be connected somehow. I don't know, it just felt like trying to screw on the bat pin wingnuts from underneath, or throw with the wheel turning in the opposite direction: my brain doesn't work that well in reverse.
So I looked at lots and lots of stencils, which also gave me a sense of how detailed I could get. I am going for a lacey kind of a look, floral or otherwise botanically-inspired...let's see what we got.

I started my copying over an image I downloaded, with some minor changes, just to sort out how to use the tool. The wood burner tool did turn out to be a good way to cut the stencils, but makes an unpleasant smell, due to the melting plastic. Maybe I should switch to the exacto? (My brain: but but [shows me image of blood and flayed-open hand]) Ugh, maybe not. Anyway I think it would be hard to get the same detail & smooth curves that the woodburner creates. Its use is not entirely intuitive, though: at first I used it as you would use a knife, pressing against a cardboard surface. This created jagged edges and little bits of partially melted plastic in the open spaces. Solution? Hold the plastic sheet up in the air while I burn out the pattern.
Next effort:

 |
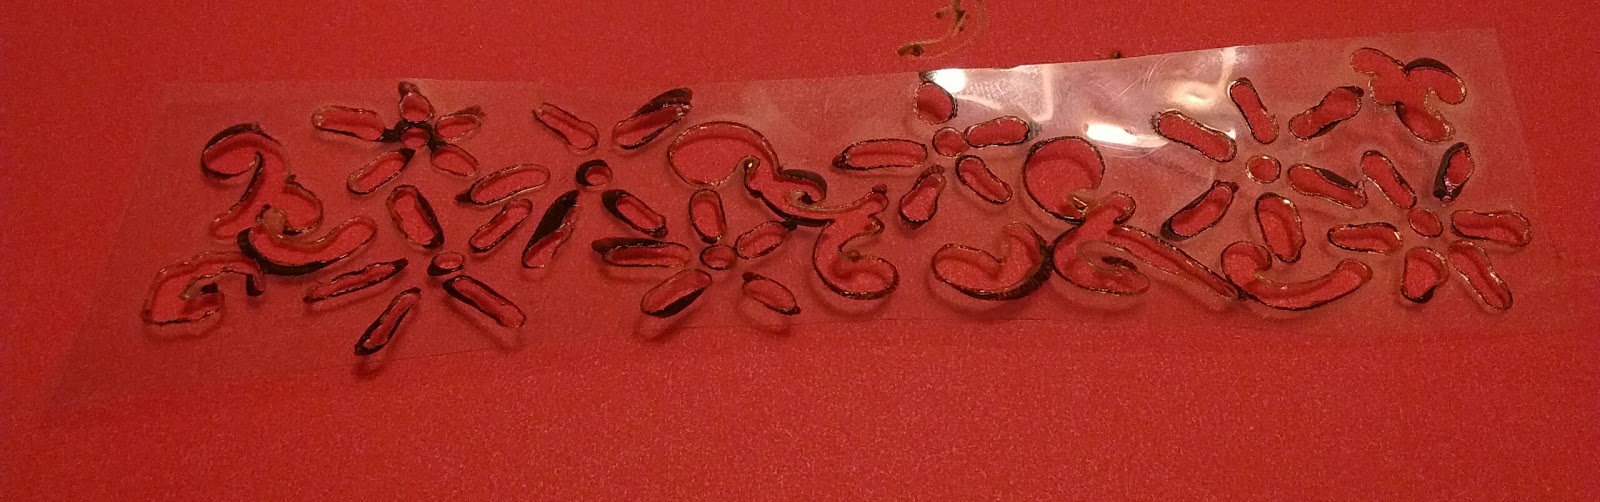
| At this point I noticed that burning against a surface was not making a clean cut |
 |
| Finished burning the design by holding the plastic in the air. |
A nice thing about making my own stencils is I can make sizes and shapes that work for what I need to do. The commercial ones were too wide and stiff to work well on three-dimensional surfaces, but I can design these to any shape that works. Need a stencil for the rims of bowls? Why yes. Yes I do. So I'll make one!
Now to test them out...

Hmm...a little blobbier than I had hoped. (I know, I know, I'm being Goldilocks here: this one's too mechanical, that one's too loose...but I am aiming for a sweet spot.) I see some potential here to add some detail with a sgraffito tool, so that's one way to go.
The woodburing tool came with different tips...maybe I should try and find a finer one.
Here's a link to the woodburning tool.
Did you find this post useful? Drop a dollar in the tip jar in the column to the right!


7 comments:
Don't breathe those plastic fumes. Work outdoors with a fan to direct them away!
Thanks! I know, my summer studio is outside.
You might try a similar tool that is a electric stencil cutter available in many craft stores. I use mylar sheets and cut on top of a glass pane.
Thank you, Gina! I will look into that.
Nice designs!
Hayne Bayless uses Tyvek and I think he cuts with an exacto knife. He keeps his stencils in a binder, slid into plastic sleeves. I wish I could be that organized!
There's a lot of small tweaks that you can do to this process to move it towards the look you probably have in mind. While I'm impressed by the out of the box thinking, the plastic fumes coming off that wood burner isn't a idea that you should pursue without serious ventilation. The thickness (or thinness) of your slip will blob up a good design too. No matter how good the stencil is, a temperamental slip will ruin your efforts.
Thanks Joel! I did try several different slip thicknesses, to see what effects I got. I actually preferred the thicker slip, because it creates a raised, almost lacey design. The thinner slip was also more likely to get under the stencil and make the design blobby.
It seems like "doing it outside" is about as good ventilation as one can get, and anyway, it's not a thing I do every day. One the stencils are made they last a very long time.
Post a Comment